Friday, August 27, 2021

A Tiny Doll and her Tiny House

So I finally managed to pick out colors for this project and get it started, and once I got going, it went really quickly.  And I adore it!!!  I'm so happy with how it turned out.  I love Pink Mouse Boutique's patterns - you can find the pattern for this one here - her patterns make doing these tiny things seem totally possible.  And they are adorable.  I love my little house book!!  And so does my tiny doll! This doll isn't the doll pattern that comes with the house rather it is this one.  
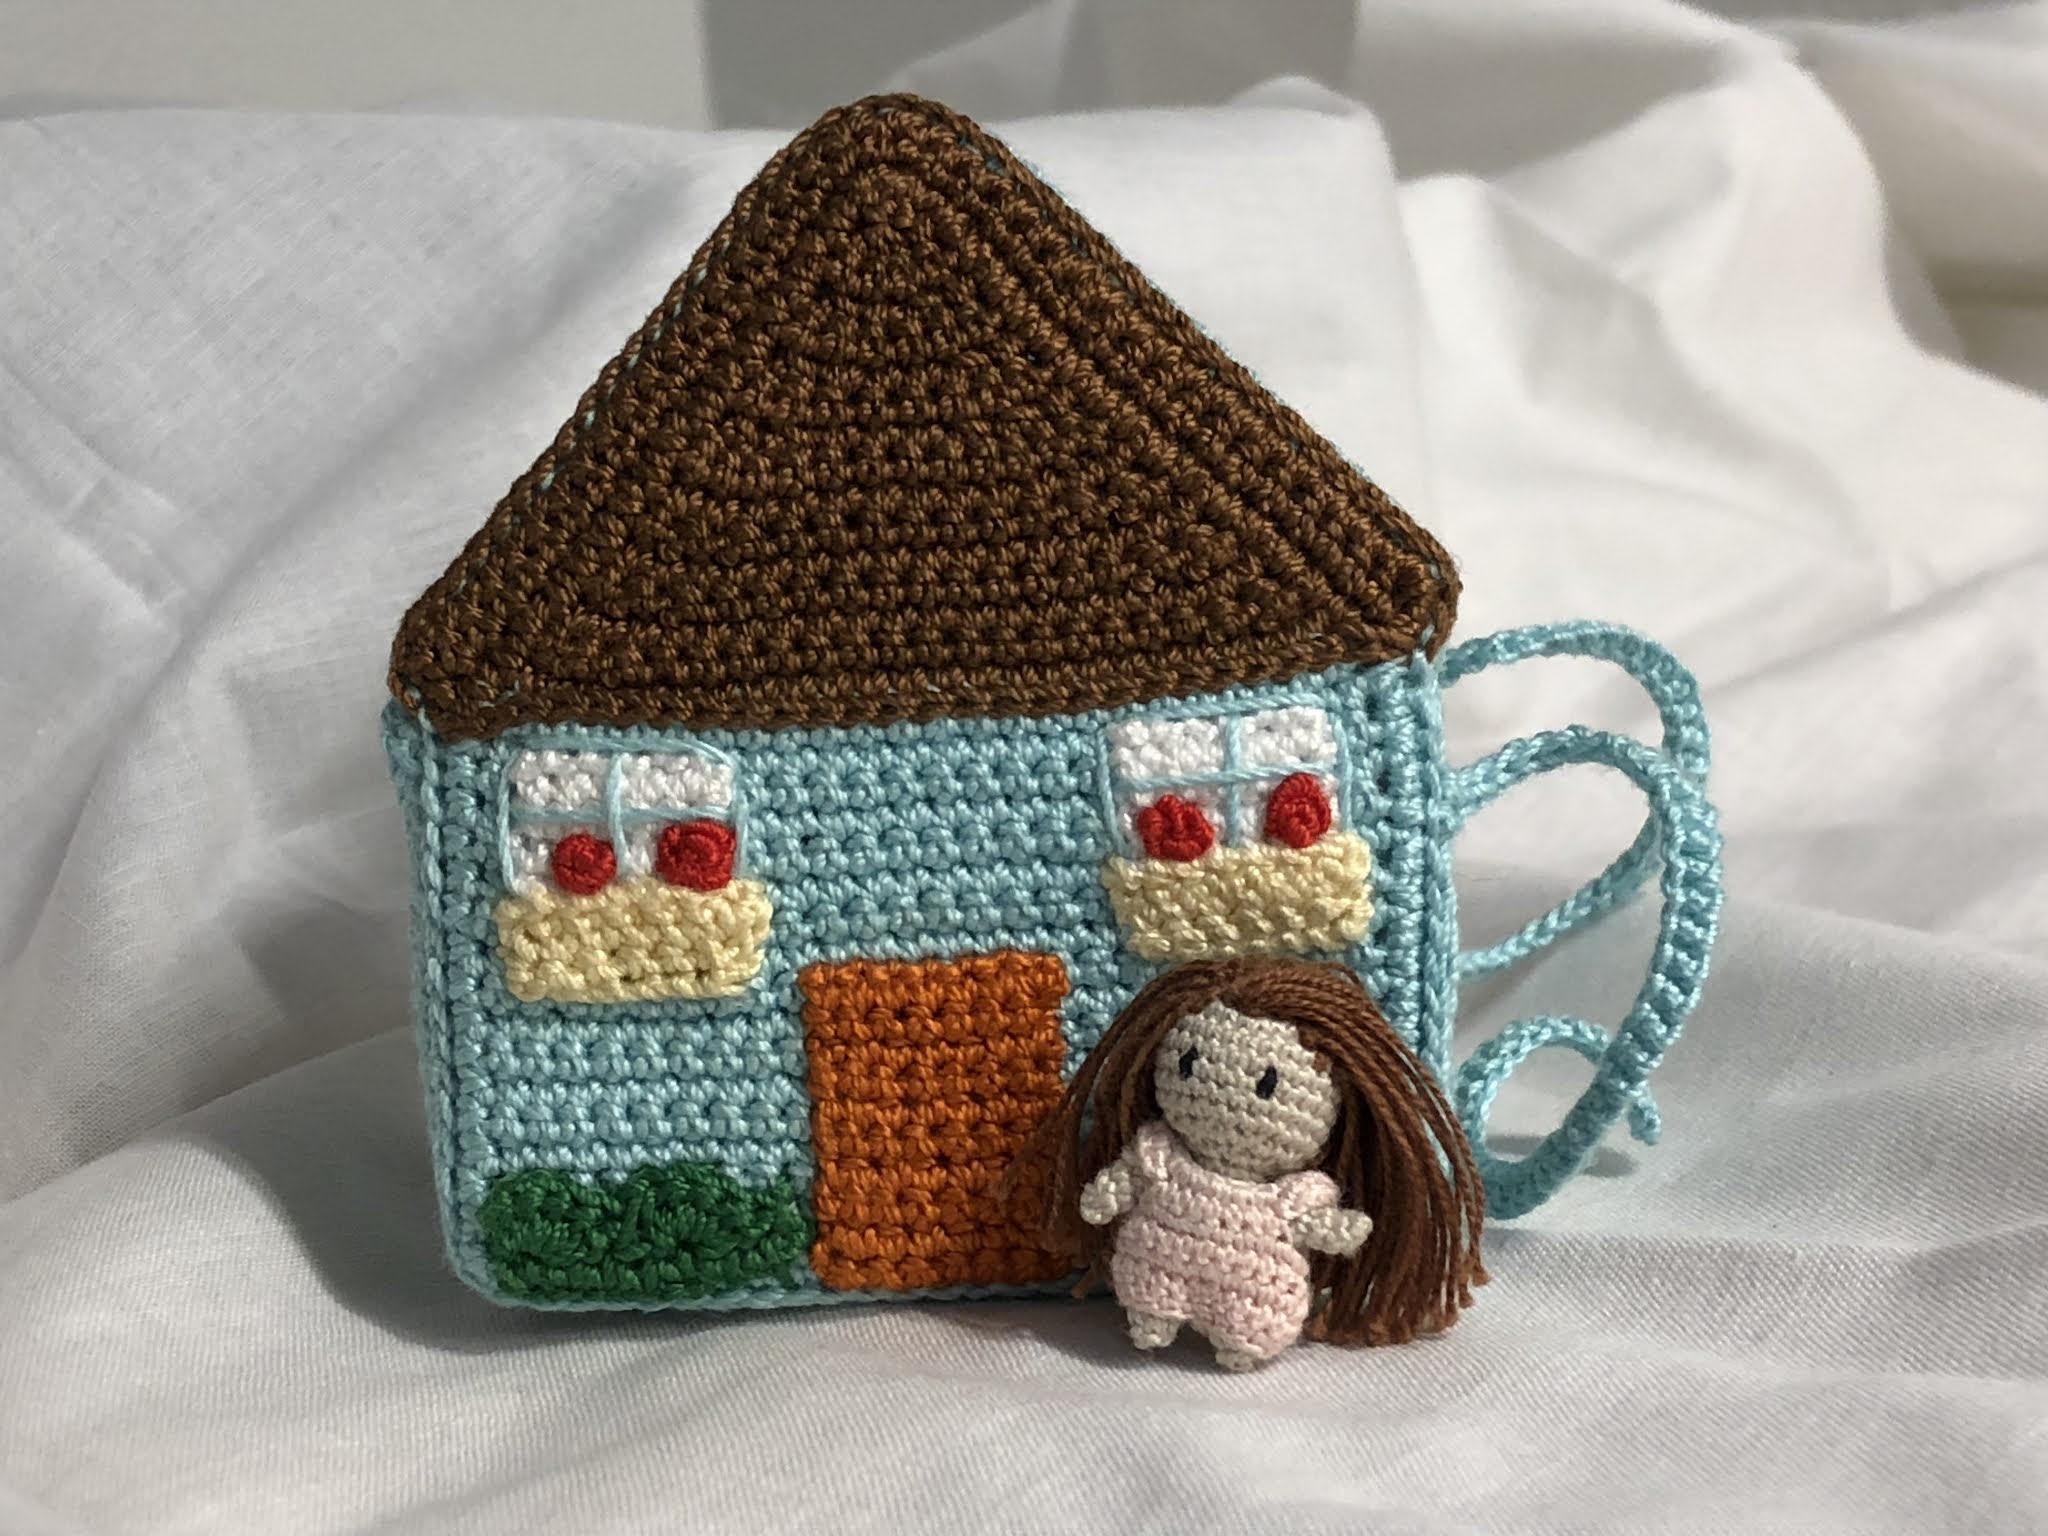
As usual, I made some adjustments.  I didn't like the way the blanket looked with all the color changes, so I did some surface slipstitches to hide them and make it look prettier.  


I used some fuzzy yarn I have lying around to do the towel and I love it!  I also sc around the shower head to make it a bit bigger.  I love the little fridge and I'm thinking maybe I'll play around and try to make some more food to put in there.   


I did a little dotted trail behind the butterfly, which I thought was a really cute idea... but it's hard to see.  


 Over all, I love this pattern and this darling little doll house - I'm debating trying to upsize it for bigger dolls...  She adds a ton of pictures and well written instructions.  Also, she is wonderful about updating patterns when she does updates.  I also got her Sophie doll pattern and made the doll, but she recently updated it with some new accessories, and she was wonderful about getting me the updated one!  I'm looking forward to adding to her stuff and once I get it finished, I'll post it here!  

Thursday, April 9, 2020

Baby Blankets

It has been a busy couple months for babies!  This one was made for Jessica and Tasi Lloyd's baby!  


This one was made for Elizabeth Brooks new baby! 


Sunday, September 29, 2019

Doll House Adventure Part 4

I'm kind of at a holding spot on the bed, so I got to work on the night stands.  This was my inspiration


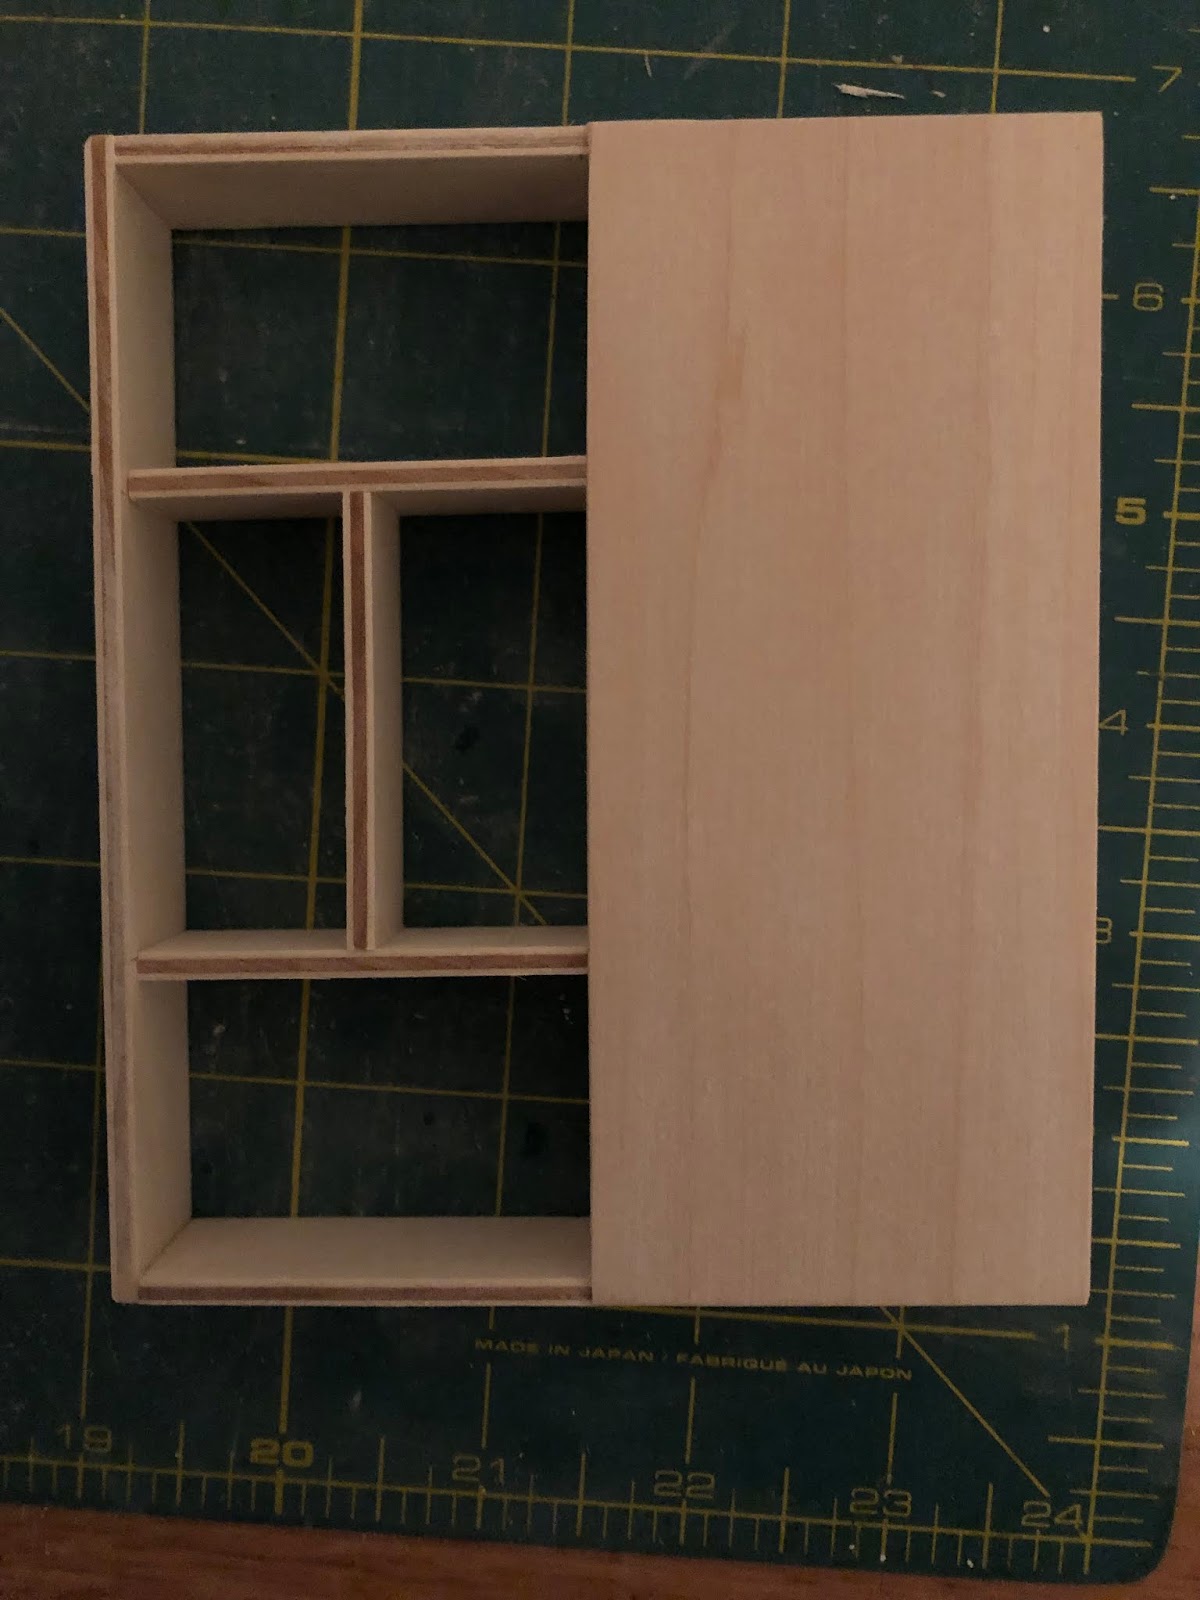
These are the cut pieces for the basic frame.


Basic frame glued together.


And then there were two... sorry, it's upside down!


I wanted a tapered leg for that mid-century modern look - so I borrowed a pencil sharpener from my daughter and cut 8 half inch tapered legs.


Then I sanded the top to an angle so they would stick out a bit!


Here is the unit with it's cute little legs


And now with the little drawers.  I cut the wood for the drawers after finishing the base unit to help ensure fit.


Now all that is left is painting them and figuring out handles...

Sunday, September 15, 2019

Doll House Adventure Part 3

The Headboard is coming along nicely - and I got the bed frame worked on this week - at this point - all that is left is finishing the painting and varnishing and then getting the handles on.   Then we really need to decide on fabric and such so I can start working on the mattress.  


Here's the beginning of the bed frame.


And here's where it's at currently - The headboard and frame are not connected yet just for ease in painting the headboard, but I think they look good together!  I'm planning on staining the doors, but I'm putting that off for now.  


Sunday, September 8, 2019

Doll House Adventure Part 2

So this week I have been working on some Master Bedroom furniture.  I started with a bed - this picture was the inspiration for the bed and headboard.  I'm not crazy about the rest of the pieces though.  


I'm close to getting the bed and headboard done - here's what I have on the headboard so far.  First I planned out the furniture pieces I wanted and tried to figure out the sizes for the room. 


This is the headboard with the main structure in place.  


Here I added the doors - I used pins to hinge them in place - I am mostly happy with it, but being a bit of a perfectionist - it bothers me that they are perfectly straight....  but not enough to go remake the whole thing... 


This is it with a coat of paint - The doors will be a wood stain color like in the above picture.  I will put a back on it - but I want a very thin wood for that - and I need to hit the craft store for a big enough piece.  


I have also been working on the bed frame part - but I will post more on that next week! 

Sunday, September 1, 2019

Doll House Adventure Part 1

This old doll house was made by my Grandfather many many years ago - I have many memories of this doll house - Grandma always kept it at her house out in her garage, and Sandi and I would play with it when we went over to her house.  After she passed away earlier this year, Sandi and I decided to work together to fix it up so our kid could play with it.  We opened it up and found a lot of dust, some cobwebs and wall paper and flooring that was falling off. 


We decided to take it down to bare bones - the wood looks like it's in great shape.  We took off all the wall paper, all the flooring, the roofing (which was just strips of sandpaper) and the old moldering curtains.  Then we cleaned and sanded a bit, along with taking the old carpet off the stairs.


Really, it's already looking much better.  Now we just need to decided what to do with the interior.  We are thinking with the 50's feel of the doll house, that we should furnish it in like style.  Right now the plan is to start with the master bedroom (top left room of the house.)  We have also decided that we would like to lighten it up a lot!


Sunday, April 28, 2019

Baby Blankets Galore

I've been on a bit of a baby blanket bender....  I've made 5 in the last couple months for friends at church having babies and people that Dan works with.  It was tons of fun - but I'm kinda glad to get a break from baby blankets now!!  

All of the yarn was Baby Bee from Hobby Lobby - I love the way the yarn works up and how it feels, but sometimes the number of knots and other issues with the yarn drive me a bit nuts...  

The patterns are from all over the place this first one is just an icicle stitch pattern with a simple striped border.  


I'm pretty sure this was a pattern I found online, but now I can't find where...  


This one is from an Annie's Attic Baby Blanket book


This pattern came from this website


This is another one I found online, and I also can't figure out where, but I think it was called a heirloom blanket pattern....


Monday, July 31, 2017

Little Mermaids

So I made mermaid tails for each of my kids crochet dolls and for my own doll, then I got my daughter to set up an underwater scene for the dolls - a friend who makes doll stuff with me also joined our little under water party and we had some fun with a photo session!  I think it came out so cute!  I started with the free pattern on the Red Heart website - but I adjusted it some.  I used fingering weight yarn and instead of working it in one square piece and then closing up the seam, I worked the top in a flat piece and added a snap at the top and worked the tail part in a round.  I used some pretty variegated sock yarn to get some really cute scale looking tails for the dolls.  I can add the specifics of my changes if anyone is interested!  

Saturday, July 29, 2017

Books

I've been having a lot of fun with some book binding lately.  I found some amazing You Tube Video Tutorials from Sea Lemon and learned a lot from them!  But I wanted to make miniature books for my doll, so I used some printables from American Girl Ideas Website and printed them off at 50% and then cut them out and made a tiny book to fit the book cover and covered it up!

I also wanted to make some classics, so I've been making a bunch kind of in the style of the old Barnes and Noble classics books.  I will share when they are done - but in the mean time, if you want any specific classic books - I can easily drop them into the template I made and make everyone's favorites!


Friday, June 3, 2016

Sunbonnet Sue Quilt

I'm not sure how it came about that this quilt isn't on here yet - it's been done for awhile, though it was a long time in the making.  These Sunbonnet Sue squares were found in my grandmother's basement in a box labled "great grandma's quilts" with other craft stuff.  We think they were started by my Great, great, great aunt, but we aren't really sure.  The blocks came to me in varying degrees of "done-ness" and I added something to all of them.  I added embroidery to the puff sleeves in addition to what was already being put on the hats, pockets and shoes.  Considering that this was my first quilting endeavor ever, I think it turned out well - I had a professional do the quilting, I just did the applique (which was all turned under and stitched in place, not the more modern method - so I tried to do the rest the same way that she had done them) and the embroidery and the piecing.  So I kinda got started on this when my grandma passed away in 2005 - and I got it finished a couple years ago, so a long slow labor of love - but so worth it!  


Wednesday, June 1, 2016

Crochet Dolls

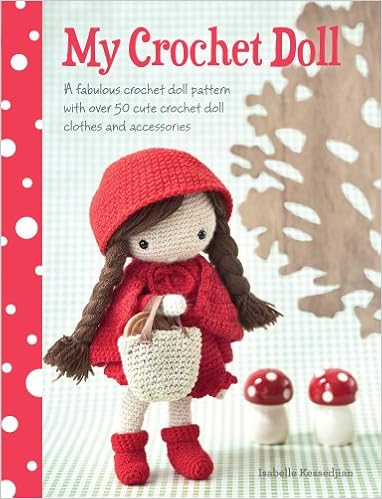
So I've made these dolls for each of my kids - they each got their own doll, supposed to look like them.  I also made a doll for myself.  I've been having a lot of fun lately making doll clothes.  I started with the patterns in the book shown and linked to below, but then I started making adjustments and playing around.  The hair on the boys for starters was my own idea.  I've also done lots of playing around with clothes.  I've got more pictures of outfits I've made for my doll and as I get stuff done, I will post more here.  


Wednesday, April 20, 2016

Ninja Turtle Cuddly

I made this fun little pattern for the baby of a friend of mine. She picked the yarn and pattern - I just did the crocheting - but I think it came out really cute!  Sorry for the awful picture - I just snapped a quick one with my phone before taking it over to her.    

She picked cotton yarn (instead of the poly blend that the pattern suggests) and while if you want to be able to wipe up stuff with it - that is a better choice, I think it made it a little harder to make.  The stiffness of the yarn (and this was some of the stiffest cotton I've used) made the amigurumi part tiring to make. When I make this again for my nephew, I will use a poly blend.  


You can find the pattern HERE

Along with a much better picture.  :)

Kai's Quilt

This is the same pattern that I used for Taz's blanket - but with girly colors and prints.   I also machine quilted this myself on a long arm quilting machine.  


I also made a little tiny quilt for her doll to match her own quilt.  


And I made another pillow case to match Taz's pillow case and 2 pillow cases for Kai.


Sunday, June 23, 2013

Baby Kai's Blanket

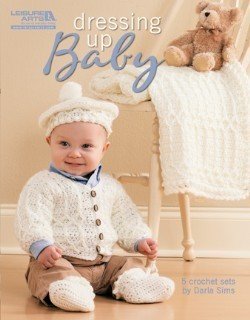
My sister just had a new baby and for her new baby girl, I made this beautiful blanket, hat, booties, and sweater set - I really love how it turned out and the soft yarn was wonderful!  I really only made one change to the pattern.  The blanket had fringe on the top and bottom, but I didn't like the raw edge look of the sides - so I added a row of single crochet along the two sides and I really liked the way it looked with that edge MUCH better!  I wish that I had made the had a looser stitch, because it ended up being a bit small for her.  :(  


I got the pattern from a book called "Dressing Up Baby" and I can't wait to try another pattern from the book!  


Wednesday, June 19, 2013

Taz Quilt

I made this quilt for my nephew - his name is Taz and so I thought this fabric was perfect for him!  It's a pattern from Perfect for Precuts Volume 1 and it's called "Flower Show" It was a really easy quilt - easy to cut, easy to piece.  It's a twin size quilt - but it's a very large twin size!   This first photo shows the binding and you can just barely catch a glimpse of the awesome tazmanian devil swirls in the quilting.  I got it machine quilted by Susan Bateman.  I also made a matching pillowcase.  

Most of the prints are a set of fat quarters - but the blue fabric I got online and the orange fabric and green polka dot fabric are from Hobby Lobby


This one shows the pattern a bit better - I hand stitched the binding while on our way down to Texas and barely remembered to take a picture of the blanket before I sent it with my sister!


Sunday, March 24, 2013

Baby Blankets!!!

Well I have a lot of friends having babies - and since (for once) I'm NOT having one too - I am having fun making baby blankets for them! This is the first one I finished for one of my online scrapping buddies - she's having a little boy!


The pattern is from this book - I got it at JoAnn's but if you click the image it will take you to where you can get it at Annie's Attic.  It was a fun pattern to work and the edging was unique in the way it went together.  The only problem I had with it was in the first round of the edging (the round of single crochets that is the foundation for the rest) it has you do 2 more stitches than my math tells me is necessary for the edge - if you follow the directions, you will end up with 502 sc's around the outside - however to work with the rest of the edging (and to avoid pulling out a half finished round because it didn't work out right - and your hair along with it) you need 500 - once i figured that out and made marks all over my pattern to remind myself if I make this again - It was an easy and fun pattern.  Hopefully my friends little boy enjoys it as much as I enjoyed making it.  I used Bernat Baby Coordinates Yarn - the boucle type yarn - in blue green and white.  The blanket came out so soft and snuggly!  I think it took 3 skeins..... 


I've been working on lots of stuff and even finished some of it, and maybe I'll get around to getting some of it posted here.  :) 

Monday, June 18, 2012

Road Trip!!

Now some of you may think that the prospect of a 14 hour car trip with 5 kids would scare any sane person out of their minds.  Which either means that I'm insane, or I know secrets!!!  We had a 14 hour (drive time) road trip planned for this summer.  My hubby was going to be travelling a lot this month, so once the kids were out of school, we packed our bags and headed south.  I love to surprise my kids on the day of the trip with fun goodies to help keep them entertained.  Between those goodies, movies, and my audio books - I was looking forward to a nice peaceful ride.  And believe it or not... I got it!  A few potty stops, a few food stops, but we made good time and there was little fighting or screaming!  YEY!  Really - when you think about it - when the kids are trapped in their seats and I have an audio book (so I can ignore the barbie movie they are watching for the 10th time) I'm one happy camper!  The only thing better is when my hubby is with  me so I can crochet and sew and listen to an audio book while he drives :P

Well to prepare for the trip, I made a few fun goodies for the kids - I started out by making these (click on the image to go to her blog for instructions) The kids LOVED these - they love to color and draw and can spend hours happily entertained with colored pencils and paper. The roughest part was cutting out the dvd holder part - get a couple extra cases if you are going to do it to practice on - you can find the cases pretty cheap and the cutting takes some practice (at least it did for me.)  I also went to Hobby Lobby for some matching fabric for the inside and paper for the outside.


I also made these - i love how they came out and the kids loved having them - i stuffed them with their coloring cases, and books and other goodies and they loved it.  I mostly used left over fabric from the big quilt we made for my sister-in-law and her family for Christmas.  I also used a sheet of plastic canvas to give it stability, and some batting that I used spray adhesive to attach to the plastic canvas.  The pockets were just pieces of fabric folded in half, seamed and stitched in place.  The handles were using the plastic-y canvas type handle stuff (I got it at hobby lobby in the fabric area) and melted the ends with a lighter to seal them.  Then i sewed one end into the seam at the top and added snaps to the other end.  I started writing up an actual pattern for this - and left it back home :)  I will include it with all the dimensions and stuff when i get back.


Saturday, May 5, 2012

Old Jean Made New

Ok so I have 5 kids, which means that I have a lot of jeans with holes in the knees.  With the weather warming up, my kids had a need of shorts and less need to holey jeans, so I took this weekend to do some re-furbishing.  I'm SOOO excited about how these turned out!!  All this was done with two pairs of my kids jeans and the leftovers of the Jelly Roll I used to make the table runner for my sister.  I started by making a double fold bias tape out of the fabric, and covered the edges and sewed them on about 1/8 in from the edge. (The butterfly and embroidery on the second pair was already there)  

The purse was done by using the bottom of one of the cut off legs.  I hemmed the bottom and covered it with another strip from the jelly roll.  I folded down the top and frayed the edge a bit - then using yarn, created the handles by threading it back and forth about 5 times - the single crocheting around them.  

For the headbands, I cut a strip of the leftover leg about an inch thick and took another strip from the jelly roll.  I put the wrong sides together and sewed about 1/4 inch from edge down both long sides.  The jelly roll piece was wider than the denim so when i turned it right side out and pressed it there was some of the colored fabric showing on the same side as the denim.  I then measured my kids head and put a strip of 3/4 inch wide elastic into the ends and hemmed them.  Sorry I didn't take pictures during the process, but I didn't think of it..... Anyway - what fun stuff can you do with your worn out clothing - now i just need to find time to do the rest of their holey stuff!  They were so excited about their "new" clothes!


If any of this is unclear, feel free to ask and I will try to do better - maybe when I work on the other pairs this week I can take more pictures for clarification.... :P